


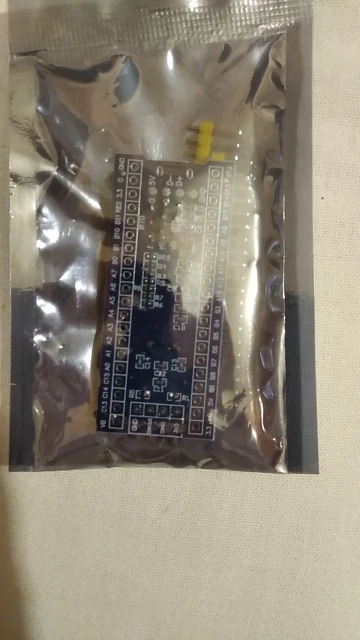
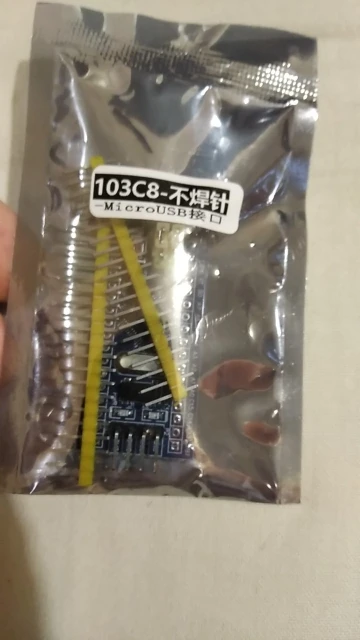
Photos of buyers


Specifications
- Brand Name: Megmoki
- Condition: New
- Type: Voltage Regulator
- Model Number: STM32F103C8T6
- Application: Computer
- Operating Temperature: STM32 Minimum Syste
- Supply Voltage: Development Board Module
- Dissipation Power: Stlink
- Package: DIP
- is_customized: Yes
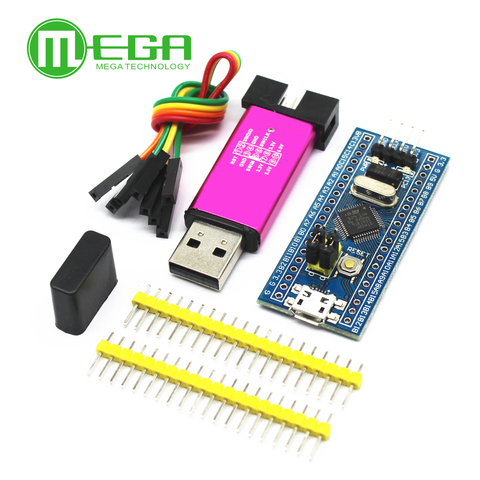
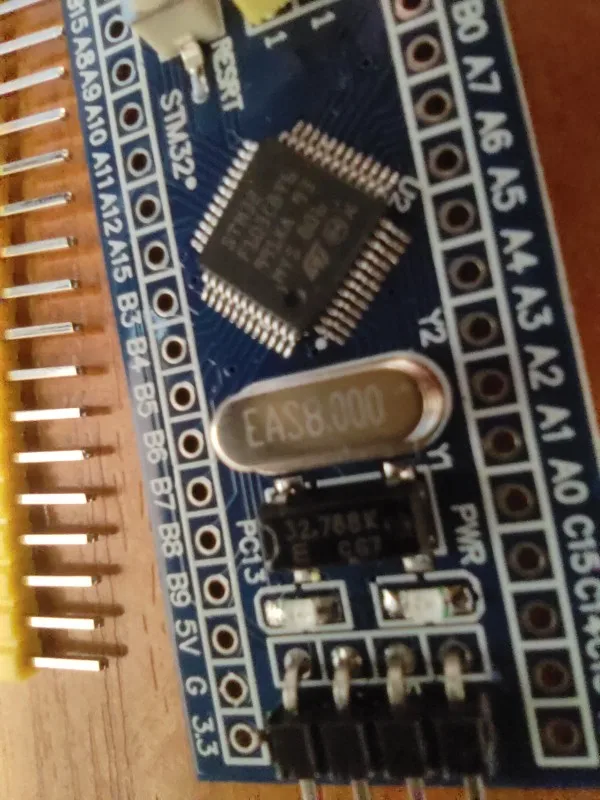
STM32F103C8T6 ARM STM32 Minimum System Development Board Module CS32F103C8T6 Stlink
Price history
- for 3 month
- for half a year
- Requires Alitools extension
Price drop notification
This item is from other sellers


Similar Products
Customer Reviews
This is a Blue Pill based on STM clone chip. There were some problems with STM32CubeIDE in the beginning, but I've managed to get through. Go to 'Run Configurations', Debugger tab. In there: 1. Set the Debug Probe to ST-LINK (OpenOCD) in 'Run Configurations' setup window; 2. Connection Setup: SWD, 4Mhz 3. Make sure Mode Setup's Reset Mode = Software system reset After that, find the "${stm32cubeide_path}\plugins\com.st.stm32cube.ide.mcu.debug.openocd_1.5.0.202011091203\resources\openocd\st_scripts\target\stm32f1x.cfg" file and add 'set CPUTAPID 0' (quotes dropped) right before the first IF statement in there; Now to debug my program, I first set the Boot 0 jumper to 1, hit the 'Play' button. This flashes my program into chip, but can't catch up with debugger. So, after that I move the Boot 0 jumper back into 0 and hit the 'Debug' button. P.S.: don't forget to set the SYS Mode Debug into 'Serial Wire' in Device Configuration perspective, of course.
Well, disregard what's said about messing with Boot 0/1. Things are much simpler: just set Boot 0 jumper to 1 and then use IDE 'Debug' button to flash and run your code with debugger. EZ
Looks as original ,not tested yet.